Introduction
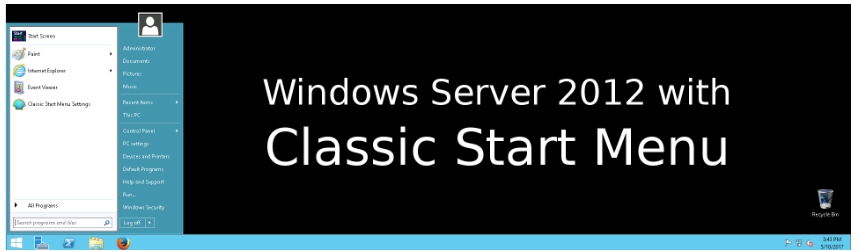
If you're using Windows Server 2012 and find the Metro interface cumbersome, you can easily revert to a more familiar Classic Start Menu using a third-party application called Classic Shell. This free software enhances productivity and usability with various features, but this guide will focus on just the Classic Start Menu option.
Downloading Classic Shell
Connect to Your Server:
- Log in to your Windows Server 2012 via Remote Desktop (RDP).
Download Classic Shell:
Installing and Configuring Classic Shell
- Run the Installer:
- Launch the downloaded file and proceed through the setup process.
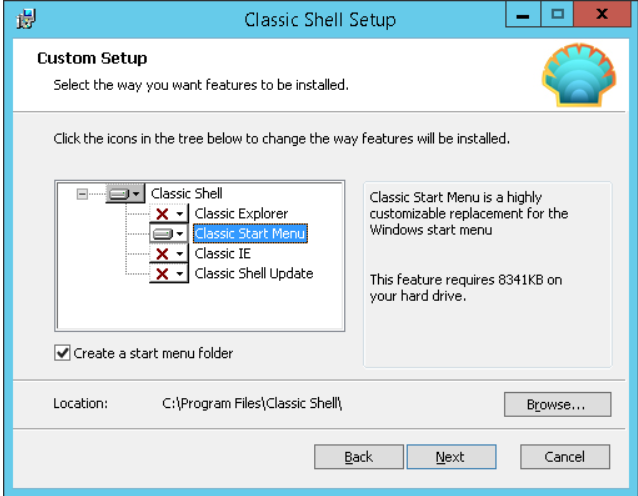
Select Custom Setup:
- When you reach the Custom Setup options, uncheck all features except "Classic Start Menu" to ensure only the Classic Start Menu is installed.
Complete Installation:
- Finish the installation process.
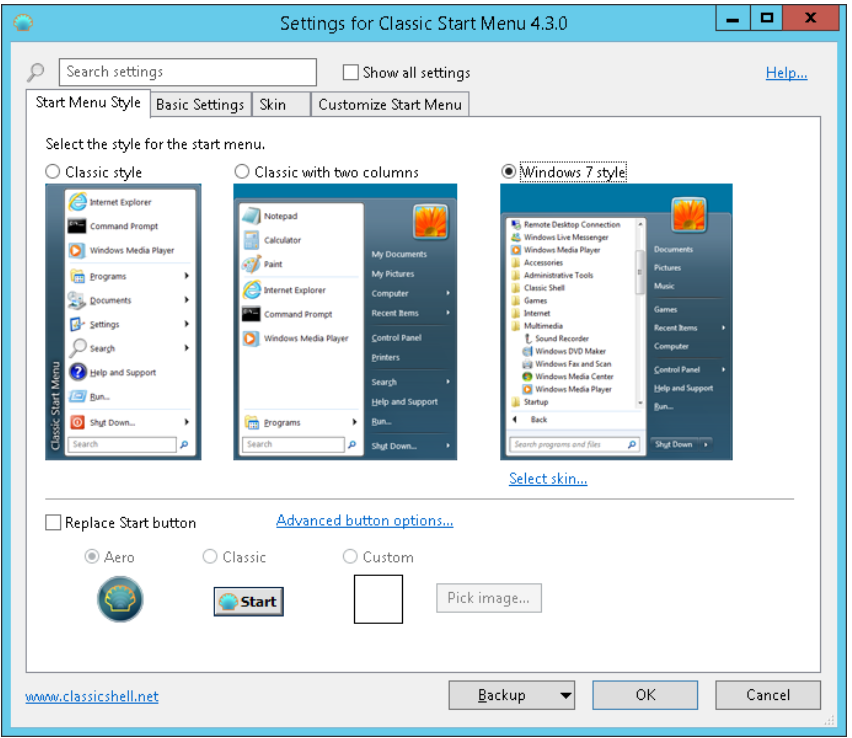
Configure Your Start Menu:
- After installation, click the "Menu" icon in the bottom left corner (assuming you haven't moved the taskbar) to open the Classic Start Menu Settings window.
- Choose your preferred menu style, skin, button style, and other settings, then click "OK" to apply the changes.
You now have a fully customizable Classic Start Menu, making your Windows Server 2012 environment more user-friendly.
Note: To adjust settings later, right-click the Menu icon and select "Settings."
Conclusion
In just a few minutes, you’ve transformed the usability of Windows Server 2012 by restoring the Classic Start Menu. Classic Shell offers many more features, so feel free to explore them to enhance your experience further.