This guide will walk you through installing TeamViewer on a Windows server, offering an alternative to Remote Desktop Protocol (RDP) for remote access, support, and file transfers.
Installation on Windows:
Download TeamViewer:
- Visit the official TeamViewer website at teamviewer.com.
- Choose the Windows OS option and download the setup file.
Install TeamViewer:
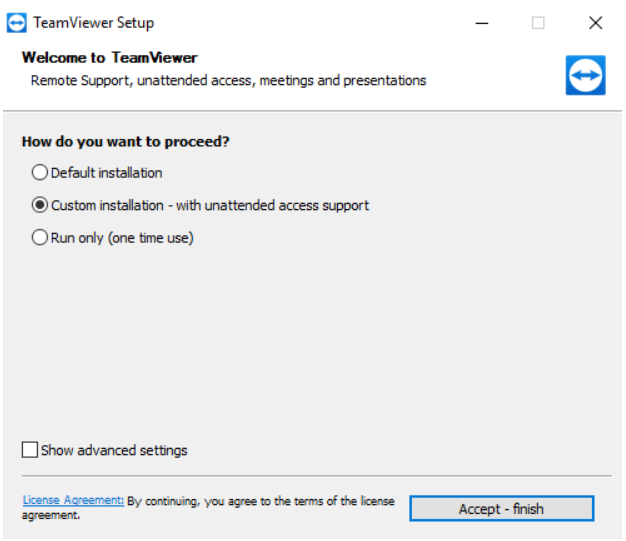
- Run the downloaded setup file.
- When prompted with "How do you want to proceed?", select the option for unattended access.
- Click "Accept" and "Finish" to complete the installation.
- Install on Local Computer:
- Follow similar steps to install TeamViewer on your local Windows computer.
Configuration:
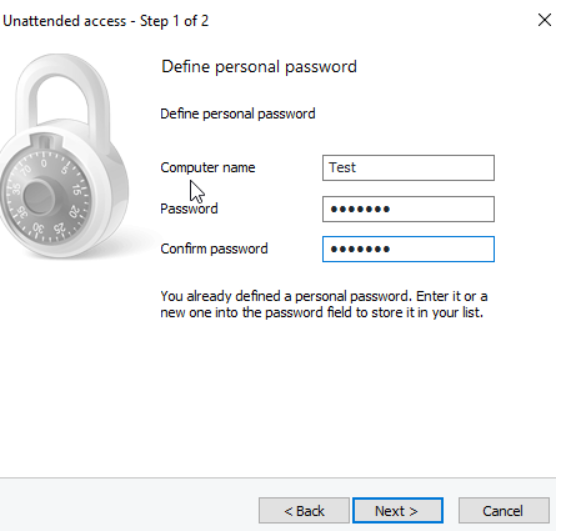
- Set Up Unattended Access:
- After installation, configure unattended access by setting a computer name and personal password for remote access.
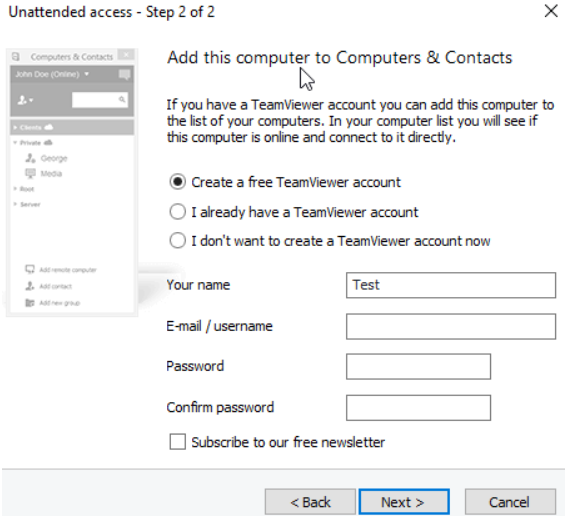
- You may skip adding a TeamViewer account at this stage and add it later if needed.
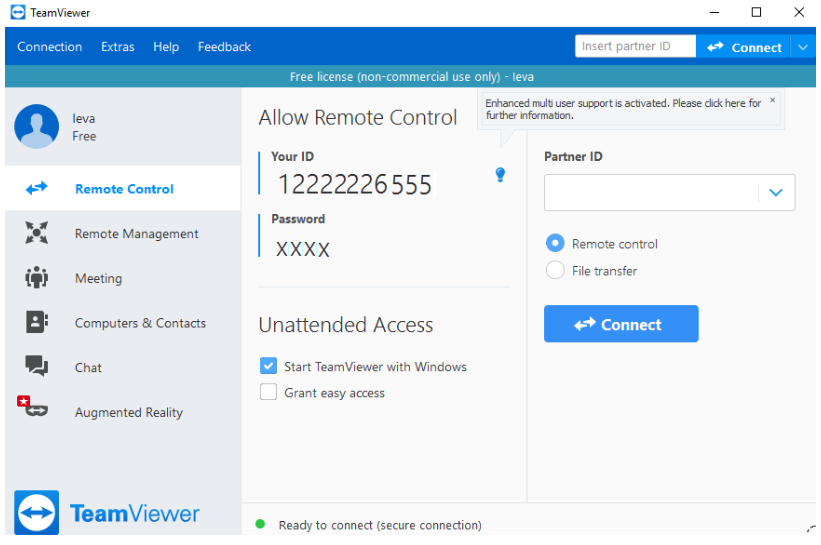
- Access Credentials:
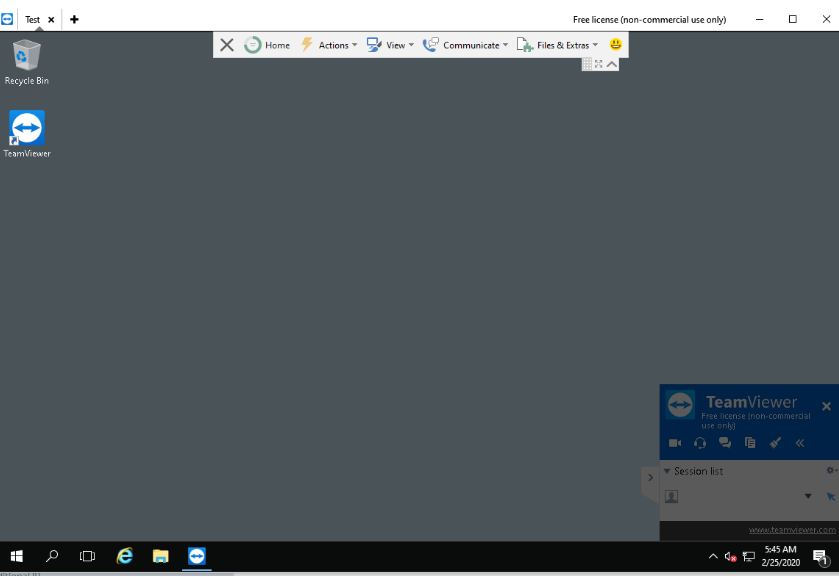
- Once configured, TeamViewer’s main page will display your remote control credentials and "Partner ID" for accessing other devices from your Windows VPS.
Note: TeamViewer requires an active RDP connection to the Windows VPS to function correctly.
With TeamViewer installed and configured, you can remotely access your Windows server anytime without needing to confirm each connection.