Windows servers use certificates in the .PFX format. If you have a certificate in a standard format with three separate files—Private Key (privateKey.key), Certificate (certificate.crt), and CA Bundle (ca.crt)—you'll need to convert them into a single .PFX file. On Linux, you can achieve this using the command line:
openssl pkcs12 -export -out certificate.pfx -inkey privateKey.key -in certificate.crt -certfile ca.crt
Alternatively, you can use third-party tools like:
SSL Converter Tool
Installing the SSL Certificate
Once you have the .PFX certificate file, you can install it using IIS:
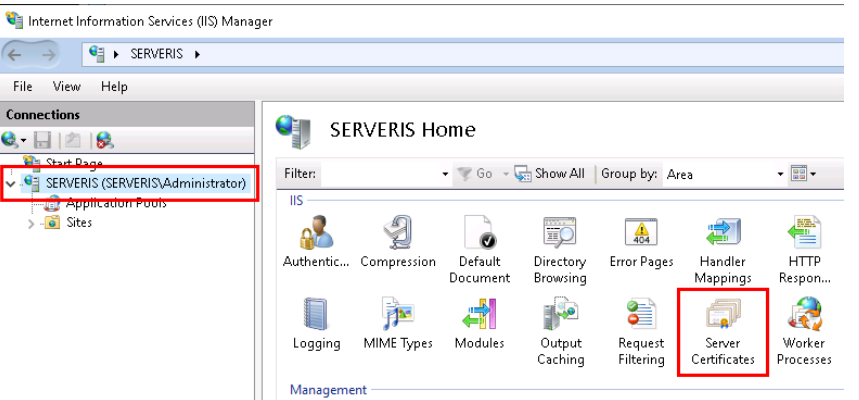
- Open Internet Information Services (IIS).
- Select your server name.
- Double-click on Server Certificates.
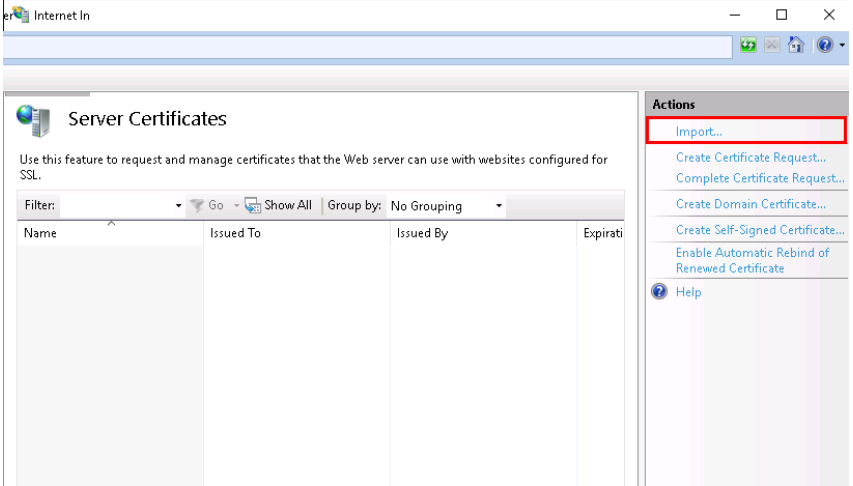
- On the right side, under the Actions section, click Import.
- In the pop-up dialog, click ... to locate your .PFX certificate file.
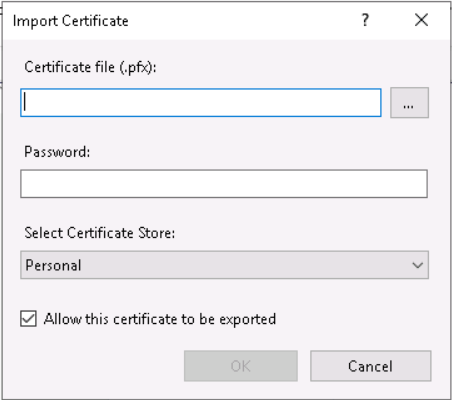
- Enter the password you used to convert the certificate in the Password field.
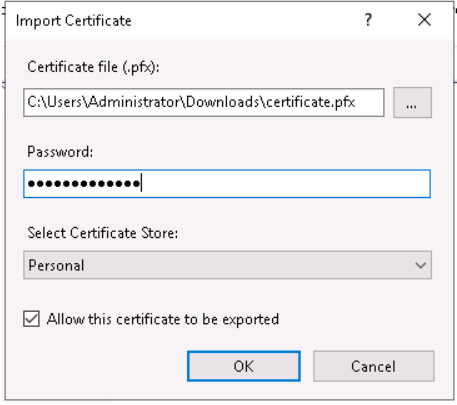
For the Select Certificate Store option, choose Personal if you don't plan to use SNI technology.
Save the changes to install the certificate on your server.
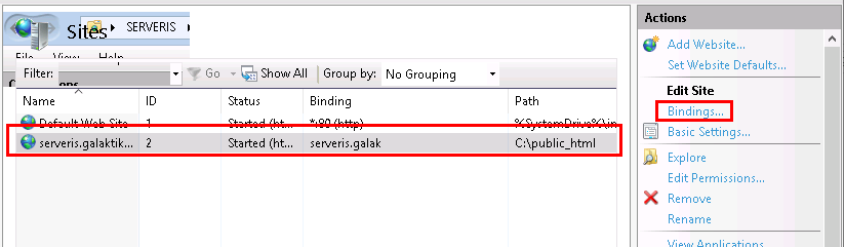
Assigning the SSL Certificate to a Site
- Select your site and click Bindings in the Actions section.
- In the pop-up window, click Add.
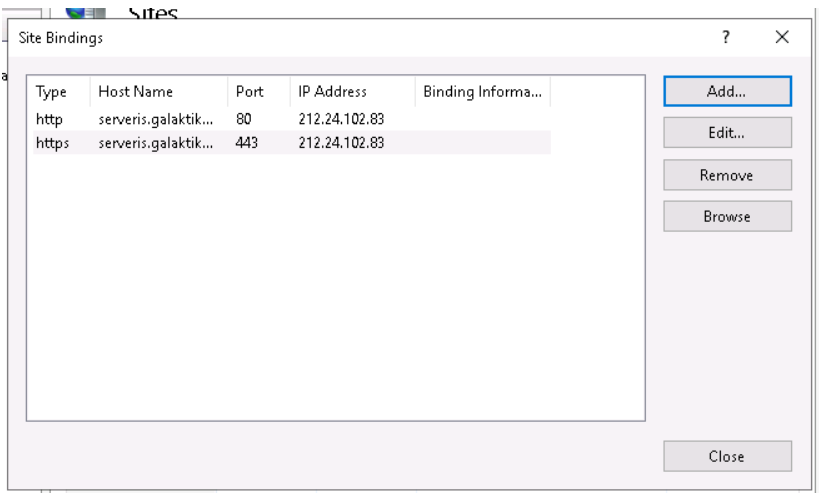
- A new window will open:
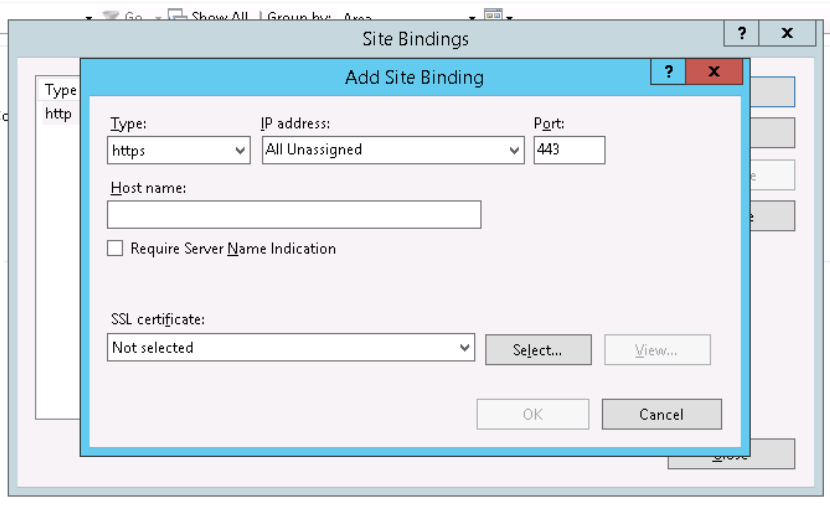
- Under Type, select
https.
- In the IP address field, choose whether to specify a particular IP address for the site (use the same settings as for port 80 if applicable).
- Leave the Port field unchanged.
- Enter your domain name in the Host name field.
- In the SSL Certificate dropdown, select the certificate you installed and click OK.